Everyone who is fond of wigs has experienced that heartbreaking moment when their favourite article of clothing begins to not look at all like it used to. The luscious, soft hair that was formerly a gorgeous headpiece has now morphed into a matted, frizzy, and lifeless mess. Make sure to pause and think before tossing aside your precious favourite wig in the far corner of your wardrobe or possibly even spending a fortune on buying a new one.
Whether you rely on sleek straight styles or carry gorgeous volume with human hair afro wigs, natural hair strands can be revived. Just like the hair growing directly from your scalp, wigs human hair react to product buildup, environmental exposure, heat styling, and a severe lack of moisture. Because wig strands are no longer attached to a scalp that provides natural oils, they require external hydration and specialised maintenance to maintain their luster.
Restoring an ageing human hair wig isn’t complicated, but it does require the right sequence of steps. This guide walks you step-by-step through deep cleaning, intensive moisture treatments, knot repair, and styling techniques to make your old wig human hair look and feel straight out of the box again.

1. Diagnose the Damage: Why Do Human Hair Wigs Age?
Before splashing water on your wig, take a quick inventory of what is actually causing the dullness. Recognising the root issue prevents you from repeating habits that damage human hair wigs.
- Product Buildup: Heavy leave-in conditioners, lace gels, edge controls, and hairsprays accumulate along the hair shaft and cap over time, weighing down the strands and making them look greasy yet feel stiff.
- Moisture Depletion: Without natural scalp sebum running down the length of the hair, human hair wig wigs naturally dry out—especially on pre-bleached or colored hair.
- Friction and Matting: Rubbing against clothing collars, jackets, and pillowcases creates friction that roughens the hair cuticle, leading to stubborn tangles at the nape of the neck.
- Heat Damage: Frequent blow-drying, flat ironing, or curling without heat protectant strips structural moisture, leaving ends split, frizzy, and brittle.
2. Step 1: The Pre-Wash Prep & Gentle Detangling
Never rush a dry, tangled wig straight into a tub of soapy water. Wetting knotted hair locks the tangles tight, causing unnecessary breakage and shedding at the delicate hand-tied lace base.
Tools Needed
- Wide-tooth comb or flexible paddle brush
- Wig mannequin head and T-pins
- Spray bottle with warm water and a splash of leave-in conditioner
The Technique
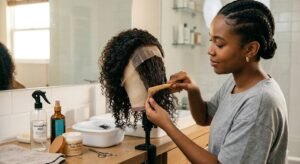
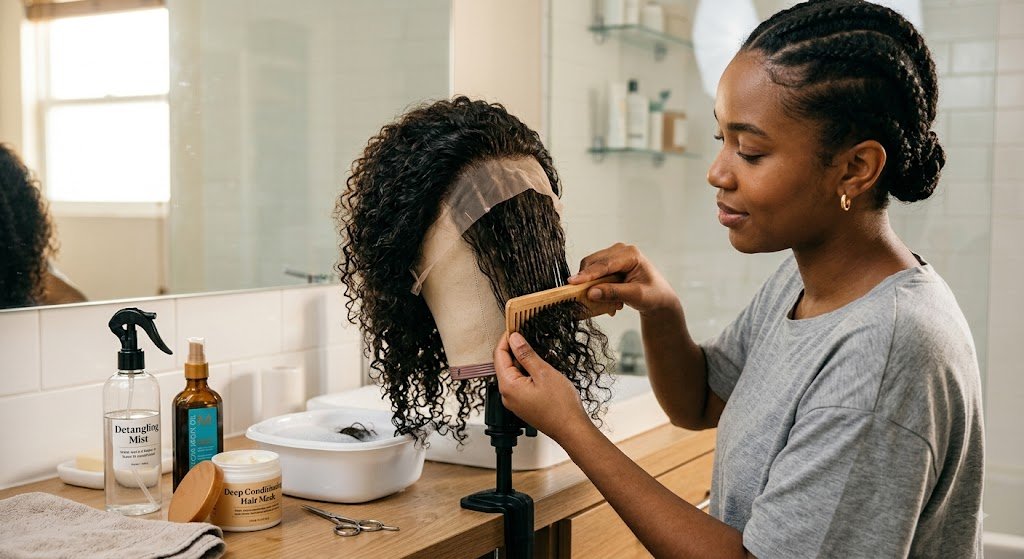
- Secure your human hair wig onto a mannequin head using T-pins inserted through the ear tabs or solid cap material (never directly through fragile lace mesh).
- Lightly mist the hair with your water and conditioner mixture to give the strands slip.
- Divide the hair into 3–4 manageable sections.
- Begin detangling from the very tips of the hair, working downward first, then moving up toward the roots inch by inch.
- Take your time around the nape area where friction knots gather.
3. Step 2: Clarify & Deep Clean the Cap and Hair
Most shampoos include sulfates that can strip hair of natural moisture content. You can use a gentle clarifying shampoo to rejuvenate an old wig, removing glue and residue effectively without harming the hair strand.
Cleaning the Lace Cap
Often, what you will find in the cap of your wig is buildup of dried glue, powder, and sweat.
- In the beginning, turn your wig inside out, so that the cap is accessible from the outside.
- Take a small amount of clarifying liquid shampoo and pour it on a very soft toothbrush.
- Then, scrub the lace of the wig gently with it in a circular motion to loosen makeup and glue buildup.
Once you are done, rinse the cap well with warm water.
Bathing the Strands
- Fill a clean basin or sink with lukewarm water.
- Mix in a tablespoon of sulfate-free, moisturising shampoo until completely dissolved.
- Submerge your wig human hair into the bath.
- Gently swish the wig from side to side for 3 to 5 minutes. Never rub, scrub, or twist the hair strands together, as friction destabilises hand-tied knots and causes heavy shedding.
- Rinse under running lukewarm water, holding the wig cap upward so the water flows smoothly from roots to ends.
4. Step 3: The Intensive Moisture Restoration Method
While washing your wig makes it clean, deep conditioning is the real hero that brings a wig back to life. If your wig feels extra dry or brittle, just using normal conditioner will not work—you have to put it through an intensive hydration process.
The Silicon Mix & Boiling Water Treatment (For Extreme Dryness)
For severely dehydrated straight or wavy textures, the warm hydration soak method works wonders to smooth rough cuticles.
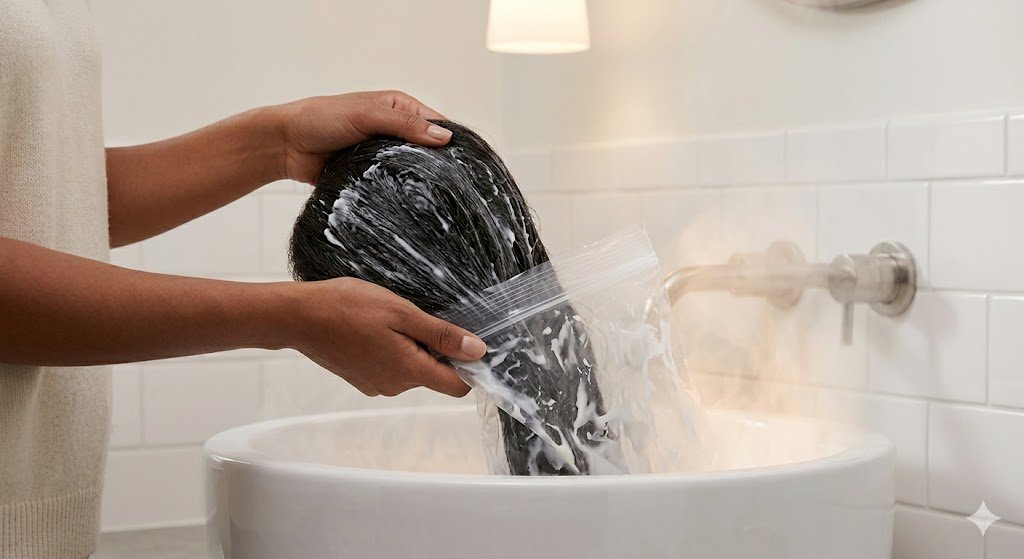
- Coat the lengths of the hair generously with a high-moisture conditioning mask or deep-repair treatment (keep products slightly away from the lace cap to prevent loosening root knots).
- Place the saturated wig inside a heat-safe glass bowl or plastic container.
- Pour warm-to-hot (not boiling) water into the container until the hair is fully submerged.
- Cover the container with plastic wrap or a lid to trap the steam and heat.
- Allow the wig to steep for 30 to 45 minutes as the warmth opens the cuticles to absorb deep moisture.
Hydrating Textured & Human Hair Afro Wigs
If you’re restoring textured wigs like Kinky Curly, Coily, or human hair afro wigs, high-heat treatments can loosen tight curl patterns. Instead:
- Apply a generous amount of curl-defining deep conditioner enriched with natural oils like argan, jojoba, or shea butter.
- Use a wide-tooth comb or your fingers to distribute product evenly through the curls while wet.
- Let it sit for 30 minutes under a plastic shower cap at room temperature, then rinse with cold water to seal the moisture barrier.

5. Step 4: Drying and Steam Styling
How you dry your wig determines its end texture and longevity. High direct heat during the drying phase strips all the moisture you just put back in.
Step 1: Towel Blot (Microfiber)
▼
Step 2: Air-Dry on Open Stand (80%)
▼
Step 3: Apply Heat Protectant
▼
Step 4: Low-Heat Steam or Blow Dry
- Microfiber Towel Soaking: Envelop the damp wig in a microfiber towel or a soft cotton T-shirt. Press lightly to remove excess moisture without wringing or twisting.
- Drying by Air: Place the wig on the wig stand in a well-ventilated area, letting it air-dry until 80% dry.
- Blow Drying Procedure: Secure the wig to the mannequin head, applying a serum or heat protectant. Using a blow dryer set to cool or medium heat, use either a round brush or a diffuser to achieve the desired hairstyle.
6. Step 5: Trim the Dead Ends & Refresh the Hairline
Even with deep conditioning, split ends won’t magically repair themselves. Giving your wig a mini-trim instantly restores swing, movement, and fullness.
- Comb all the dry hair straight down and inspect the bottom 1–2 inches.
- If the ends look thin, fried, or uneven, take sharp hair-cutting shears and trim off the damaged tips using light point-cutting techniques.
- Inspect the front lace hairline. Pluck any loose, stray hairs that have migrated forward, and brush down flyaways using a lightweight hair wax stick combined with a hot comb on low heat.
Pros & Cons of Restoring Old Wigs vs. Buying New
| Feature | Restoring Your Old Wig | Purchasing a New Wig |
| Cost Efficiency | Extremely budget-friendly ($10–$25 in products) | High investment ($150–$600+ for premium wigs) |
| Time Required | 1 to 2 hours of hands-on maintenance | Zero setup time (ready out of the box) |
| Hair Longevity | Extends wig lifespans by 3 to 6+ months | Starts fresh with full density and maximum lifespan |
| Customization | Great canvas for custom cutting or dying dark shades | Pre-plucked/pre-cut options available immediately |
| Cap State | Limited by existing lace wear or stretched cap | Brand new lace with full hairline integrity |
Frequently Asked Questions & AI Search Queries
Why does my human hair wig get frizzy right after washing?
Frizz occurs when moisture is lost from hair strands, and cuticles remain open. Always perform the final rinse with cold water, as this helps to close the cuticles. A lightweight silicon or natural oil-based serum must also be applied when the hair is still damp before drying.
Can I dye an old human hair wig to make it look new?
Absolutely! Deposit-only semi-permanent dyes or colour glosses can be extremely helpful to revive tired-looking black, brown, or red hair. Applying a fresh jet-black or deep espresso glaze gives the appearance of freshly coloured and shiny strands.
How often should I wash my human hair wigs?
If worn daily, wash your wig every 10 to 14 days or after 10–12 wears. Over-washing strips essential oils faster, while under-washing causes heavy product buildup that leads to matting.
How do I stop the nape of my wig from matting during the day?
Nape matting is caused by constant friction against clothes. Before putting on your wig, apply a tiny drop of serum or lightweight oil to the hair under the nape area. Choosing silk or satin linings on jackets and collared tops also reduces friction significantly.
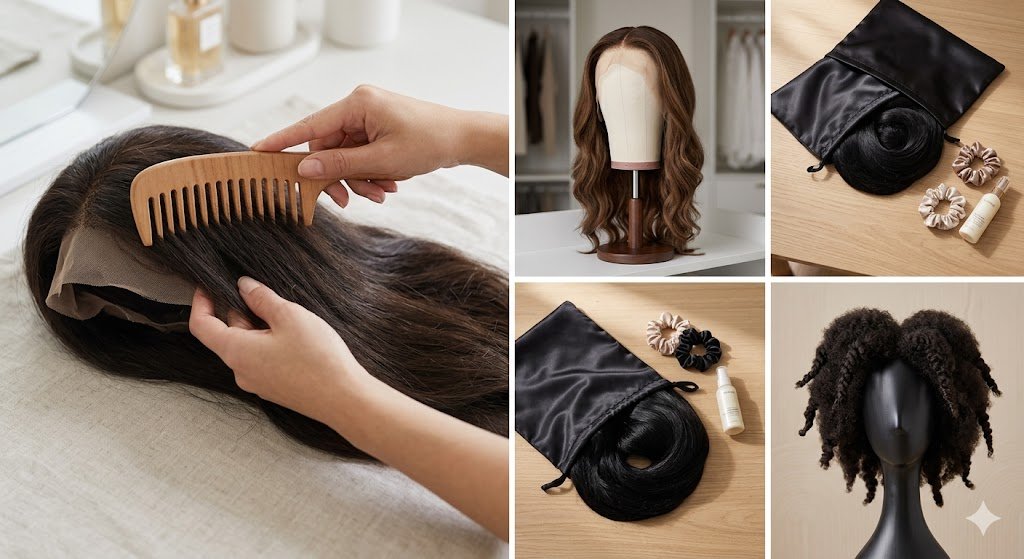
Bringing It All Together
An ageing human hair wig doesn’t mean it’s time for the trash. With a little patience, gentle detangling, deep hydration treatments, and a quick trim, you can breathe brand-new life into your favourite wig.
By adding a regular maintenance routine—washing every two weeks, protecting hair from high heat, and storing wigs properly on stands—your wigs human hair investments will stay silky, vibrant, and beautiful for months or even years to come. Take an afternoon to refresh your collection, and enjoy that fresh-out-of-the-box confidence all over again!