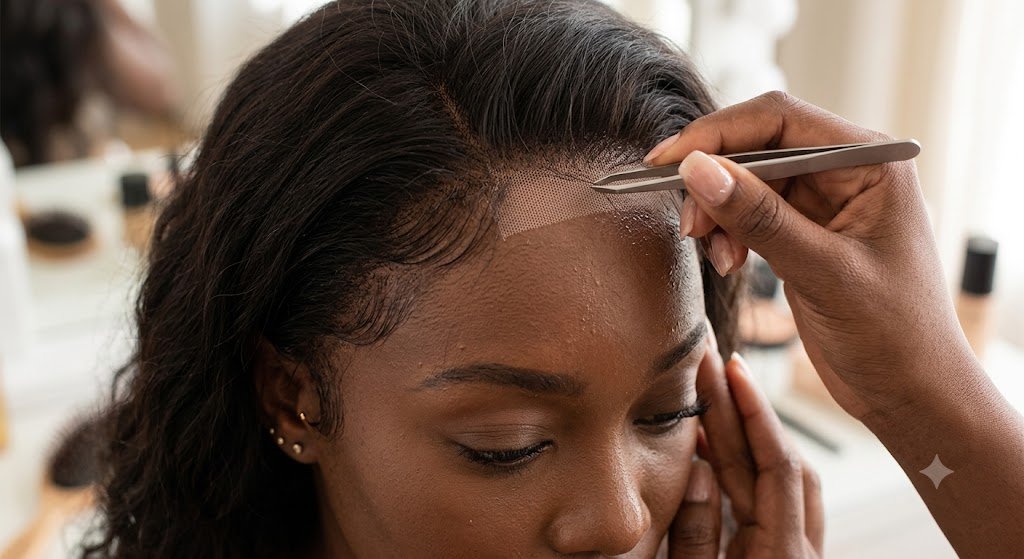
Ever wondered why the frontals on your favorite beauty creators look like hair literally growing out of their scalps, while your own wig comes straight out of the box looking like a dense, unnatural line of hair? The secret isn’t magic—it’s the precise art of plucking and customizing your lace frontal.
Indistinguishable Melting with a Lace Front Whether you have on a full lace frontal or classic lace frontal or are trying out a few different styles with frontals, here’s how you can give your frontal a seamless melt. We’re going over the exact step-by-step plucking approach used by influencers, what not to do with the density, and more.
The Truth About Out-of-the-Box Frontal Hair
To create frontals, factory-method hair punches strips into the lace; however, the hair is densely packed and can last longer. However, the natural hairlines don’t grow in a wall of solid, straight hair.
The hairline is graduated; hair is very thin, and baby hair near your face is sparse and even, while getting denser toward the crown. When it comes to full lace frontals, you need softer, strategic plucking in order to achieve a natural graduation of hair densities.
Essential Prep Before You Start Plucking
Before grabbing your tweezers, proper preparation is key to preventing tears in the lace and ensuring you remove hair evenly.
1. Bleach the Knots First
Plucking dense frontal hair without bleaching the dark knots first will make it difficult to gauge your progress. Bleaching lightens the tiny dark dots where the hair strands are tied to the lace, giving you a clean visual canvas.
2. Secure the wig to a Canvas Head
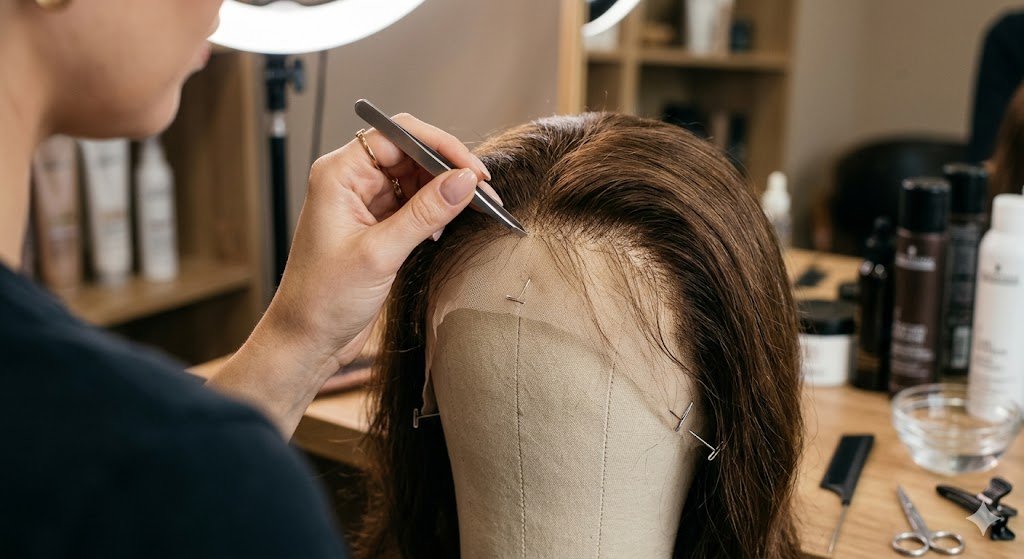
Don’t try to pull the lace frontal while you’re holding it in your hands. Pin your wig to a mannequin head using T-pins. The lace should be lying flat and smooth against the canvas surface so that the tension is uniform.
3. Dampen and Section the Hair
Mist the hairline lightly with water or spray a little mousse onto the hairline. Mist keeps little strands away from your face while giving you a good look at the density of the hairline.
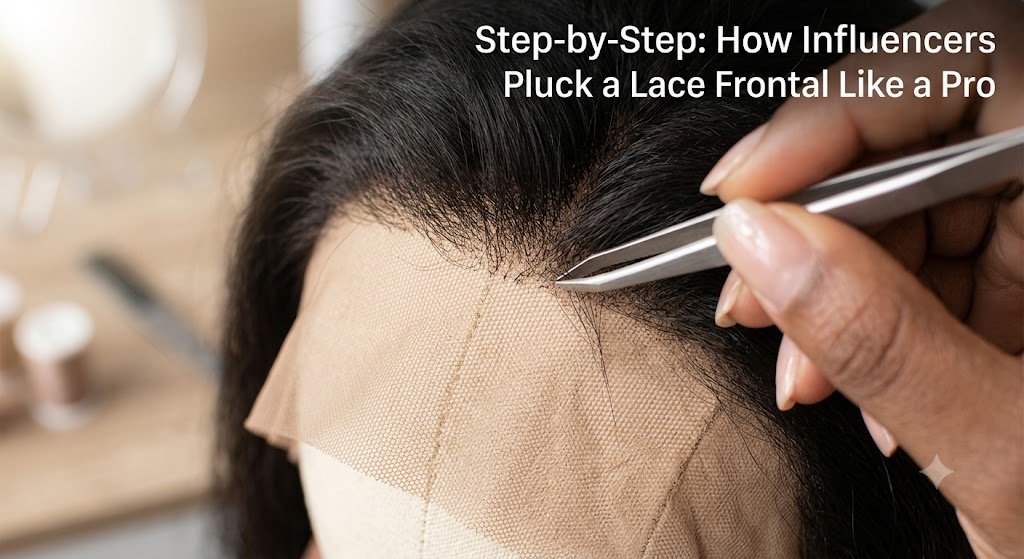
Step-by-Step: How Influencers Pluck a Lace Frontal Like a Pro
Step 1: Isolate the First Layer
Using a rat-tail comb, separate a super-thin layer of hair right at the very front edge of the lace—about a hair-thin section. Flip this delicate row forward over your forehead or pin it down flat out of the way. You will not pluck this front line yet; this step ensures you keep a soft perimeter without creating a harsh border.
Step 2: Pluck in Space-Out Passages
Starting just behind that isolated front row, use sharp, slanted tweezers to pluck individual strands.
- The Technique: Hold the hair taut with one hand and hold the tweezers with the other. Pluck with quick, swift movements in the direction the hair grows.
- The Motion: Never pluck repeatedly in the exact same spot. Pluck 2-3 times, skip a tiny space, pluck 2-3 times, and keep moving along the hairline. This skipping motion creates a soft, scattered density rather than sparse holes.
Step 3: Create a Natural Gradient
Work backward from the hairline in concentric layers:
- Part back another thin layer of hair, comb it forward, and pluck behind it.
- Repeat this process 3 to 4 times, plucking slightly less as you move further back into the wig.
- This creates a smooth transition from sparse at the forehead to full and voluminous near the crown.
Step 4: Unpin and Assess
- Pin the front layer you parted off in Step 1 and brush it to the back.
- Hold the full lace frontal to your forehead or back away from the mannequin to see the density. If it looks too dense or too dark, go back to Step 2 and pluck closer together.
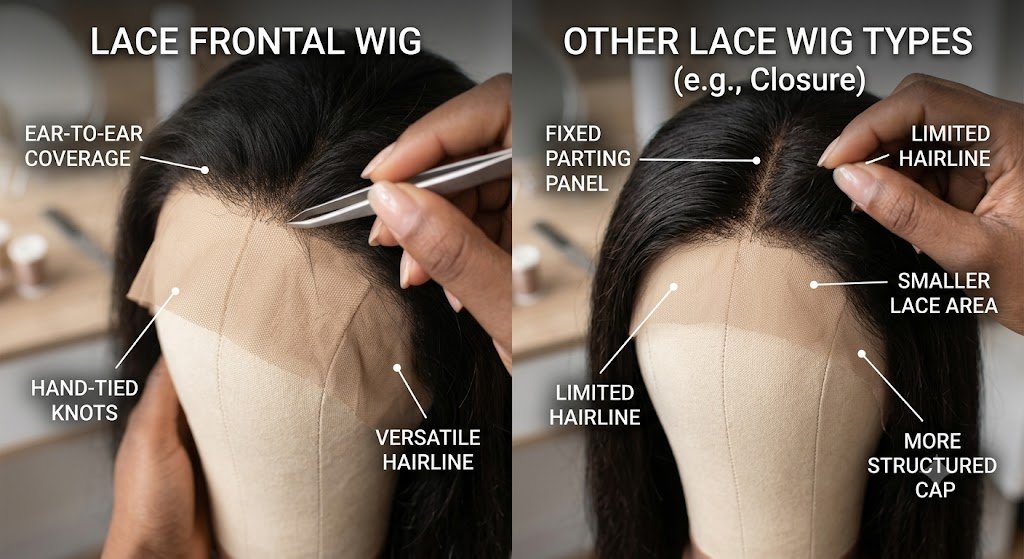
Key Differences: Frontals vs. Other Lace wigs
Understanding how different lace items function helps you choose the right base for your desired styling versatility.
| Feature | Standard Lace Frontal | Full Lace Frontal | 360 Lace Frontal Wig |
| Lace Coverage | 13×4 or 13×6 inches (Ear-to-Ear) | Complete base made entirely of lace | Full perimeter around the entire head |
| Parting Freedom | Limited to front ear-to-ear area | 360-degree unlimited parting | Full perimeter parting (High ponytails) |
| Plucking Required | Front hairline only | Front hairline + any custom parts | Full front and nape hairline |
| Installation Ease | Moderate | Advanced | Advanced |
Pros & Cons of Full Lace Frontals
Pros
- Ultimate Styling Versatility: Because the entire cap is constructed from lace, you can pull your hair up into high ponytails, top knots, space buns, or deep side parts without exposing tracks.
- Lightweight and Breathable: Full lace caps allow maximum airflow to your scalp, making them far more comfortable in warm weather.
- Flawless Scalp Simulation: Offers the most realistic look when properly customized, bleached, and melted.
Cons
- High Maintenance: Requires delicate care during washing, styling, and storage to prevent lace tears.
- Higher Customization Time: Plucking and bleaching a full lace wig takes longer due to the larger lace area compared to smaller closures.
FAQs & What People Ask AI
What is the biggest mistake beginners make when plucking frontals?
The most common mistake is plucking too repeatedly in one tiny spot. This causes visible holes in the lace or leaves jagged, uneven patches. Always keep your tweezers moving continuously across the hairline.
Can you over-pluck a lace frontal?
Yes. Plucking too much will either leave the lace completely exposed, or the line will look too far back. Pluck lightly and occasionally run your hand through the hairline to check your progress.
How do I prevent the lace from tearing while plucking?
When plucking, always hold your tweezers at the bottom of the strand of hair as close to the lace as possible. Do not pull the lace thread by the end. Hold down the lace tightly on a canvas head when pulling to avoid pulling the lace unevenly.
Is a 360 lace frontal wig harder to pluck than a standard frontal?
A 360 lace frontal wig requires plucking both along the front ear-to-ear hairline and along the nape of the neck at the back so that high updos look natural from every angle.
Pro Care Tips for Longevity
To preserve your customized hairline after installation:
- Gentle Detangling: Always start brushing from the ends of the hair, working your way up to the lace root using a paddle brush or wide-tooth comb.
- Nighttime Protection: Wrap your hairline with a smooth satin or silk edge scarf every night to minimize friction while sleeping.
- Avoid Excessive Pulling: When styling up-dos with frontals, avoid tying the hair too tightly against the adhesive bond, which can stretch or rip the delicate lace edges.
Your hair restock is here! Enjoy 25% off all high-quality hair, extensions, and wigs. Insiders get 30% off.

Summary
Getting that coveted influencer-level melt on a full lace frontal isn’t about buying a magical wig—it comes down to proper plucking and customization. By bleaching your knots, securing the wig properly, and plucking in spaced-out layers to build a soft density gradient, you can transform any dense frontal into a completely natural hairline. Take your time, pluck in light passes, and wrap your edges daily to keep your melt looking fresh and scalp-like for weeks.